| Home | Rides | Reviews | Bikes | Gallery | Tech | Misc | Contact |
| Tour of Idaho Tested, 2013 How KLIM, Leatt, Giant Loop, Trail Tech, Pro Moto Billet, Rekluse and Rotopax fared in our ultimate crucible. by Martin Hackworth Photos: Martin Hackworth, Megan Broyles, KLIM, Trail Tech, Giant Loop, Pro Moto Billet, Rotopax, Rekluse. |
 |
|
|
|
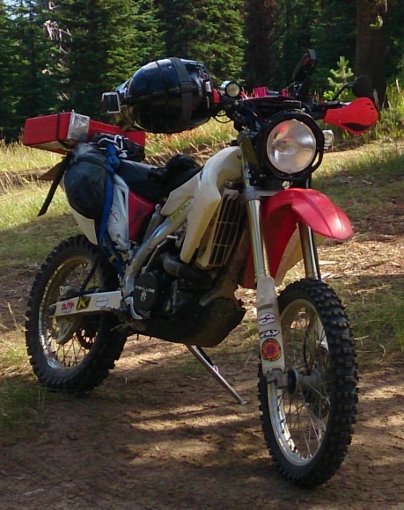
The Tour
of Idaho is our ultimate dirt
bike test crucible. This year's Tour included over 1500 miles
of body, gear and bike rending terrain. If the things that we take
with us can withstand a week of persistent,
flagrant abuse, we figure that they'll do just fine for just about
anything else. The following is
our evaluation of a few new items we found to perform in a particularly
meritorious manner during the 2013 Tour. First, a couple of small items that made this year's Tour rock. Though solo riders tend not to dirty up filters as fast as those riding in groups, filter skins from PC Racing made keeping the filter in my open air box clean easy. As long as you oil them properly, you can actually stack a few of them together. Two got me all the way through the Tour. They are inexpensive enough that I disposed of them at service stations when they started looking dirty. These inexpensive problem solvers are as close to a no-brainer as it gets. Nike's Pro Combat Hypercool 2.0 Fitted Short-Sleeve Shirt is perhaps the best base layer we've found for dealing with the heat and sweat you'll have to deal with all along the way during the July and August heat. This shirt is amazing, and kept me comfortable even under body armor and a neck brace. Highly recommended. |
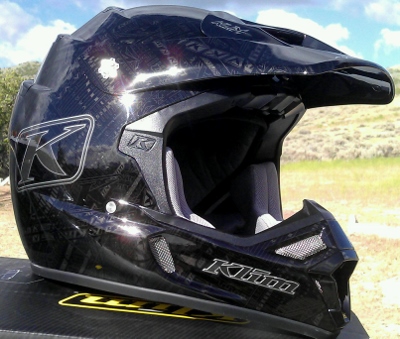 KLIM F4 Helmet |
We were able to secure from
KLIM a newly released version of the new ECE
certified F4 helmet. Though the
ECE (European) certified model is not DOT approved, Idaho does have a
helmet law, so certification is of no consequence on
the
Tour - but the fact that the ECE F4 is nearly a pound lighter than the
Snell approved version, is. As much as we liked the old F4, which is
simply the most ventilated helmet available, this one tops it.
As
we said in our F4 review from last year, to
wear one is to want one. The ventilation afforded by the multiple vents and plenums in the F4 is amazing. The F4 flows rivers of cool air - even at a walking pace. When you sweat inside the F4, it flows so much air that the sweat quickly evaporates and your head cools like it's air-conditioned. It's really your best friend in hot weather. New for 2013 lower-profile vent covers actually increase air flow. Now the F4 is not only the best-fitting, most ventilated helmet out there, but the ECE model is also one of the lightest. I can't for the life of me figure out why anyone would want anything else. |
|
For the past few years I
have ridden the Tour in KLIM
Dakar Pants. The Dakar
Pant
provides 90% of the ventilation of the
flow through Mojave
Pant, and is
practically as comfortable in bright sunlight in light
grey. The difference occurs when the vents are zipped
shut.
The Dakars then provide a level of versatility in handling
cold
that the Mojave's do not. Dakars are serious, utilitarian garments that will do you right in a variety of circumstances. Festooned with useful features, comfortable, durable and easy to get on and off, Dakars remain my favorite off road pant. For a 2013 T1 jersey I chose the Dakar Pro - which happens to be not only the toughest jersey I've ever worn, but ventilates better than either the flow-through KLIM Mojave and Mojave Pro. |
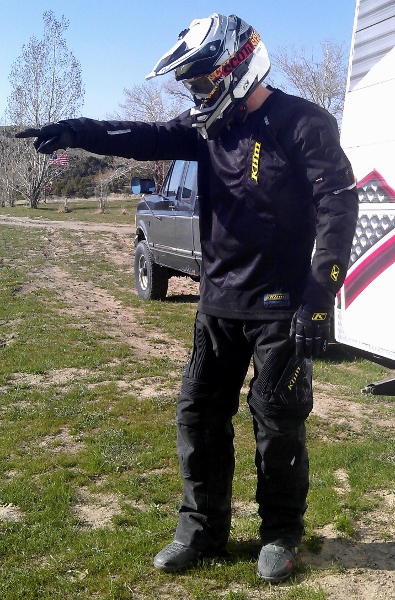 KLIM Dakar Pant and Dakar Pro Jersey |
 Dakar Pant and Pro Jersey in light grey |
 KLIM
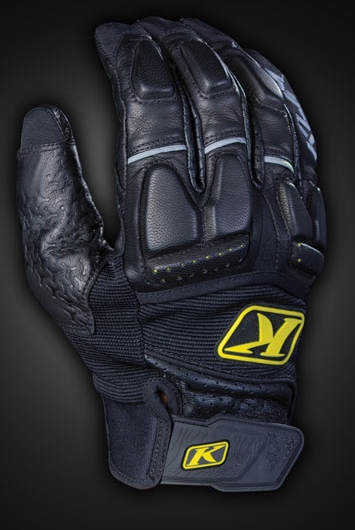
Adventure Glove KLIM
Adventure Glove |
Imagine the world's
toughest mesh jersey, with some really trick features for discerning
riders, and you've got the Dakar Pro. The Dakar Pro Jersey is a bit spendy at nearly $140, but KLIM, at least in my view, is to actually be commended for bucking the trend toward inexpensive price-buster moto products of poor quality (Can a $10 garbage bag jersey be far into the future?) and coming up with a well-designed, superbly-crafted jersey that will last for years. For the Tour of Idaho, you'll want one of these. The KLIM Adventure Glove certainly proved its mettle on this year's Tour. These are the first pair of gloves I've ever gotten all the way through the Tour without blistering my hands. The KLIM Adventure Glove is basically a high-end enduro glove made of leather. The Adventure glove is lightweight, water resistant, sturdy, protective, amazingly well-ventilated and stretches to conform to your hand in all the right places. It is also just about the nicest feeling glove out there. Even in black, my hands never got unduly hot, and the extra levels of protection and comfort make these a no-brainer. I also had a set of KLIM Mojave Pro gloves along for the ride, which are KLIM's high-end fully ventilated glove, and I was unable to discern any great difference between them in terms of temperature. Whatever amount of air flow you sacrifice with the Adventure is more than made up for by the extra comfort, protection and tactile feel that a pair provide. The KLIM Krew Pak is the largest capacity backpack in the KLIM lineup. It has a removable tool pouch, which turns out to be a very nice feature. The goggle pocket is fleece lined, all of the straps are well-positioned and all of the bells and whistles make sense. The hydration bladder and bite valve are state of the art and |
| the system has a capacity of
three liters. All of the zippers and other accouterments are of typical
KLIM quality, which is to say top notch. In each of the previous years I've ridden the Tour, I've used an OGIO Flight Vest combined with either a fanny pack or some other cheaper backpack. This year I used the KLIM Krew Pak, a set of Giant Loop Mojavi bags and the incredibly useful Giant Loop Zigzag handlebar bag for tools. As far as I am concerned this is the hot setup. The Krew Pak is setup much better than a standard backpack for riding and is festooned with useful features. All of these bags are easy to attach to either your bike or yourself, are very rugged, versatile and reliable, are easy to use, and have unobtrusive profiles when flying through the trees. All provided way more capacity than I needed, but that wasn't all bad. Bags that are crammed too full are difficult to load, unload and sort through when you need something. It was really nice to have extra room that I didn't have to use without adding a lot of weight or bulk. I also elected to try out the new Leatt GPX Trail neck brace coupled with the brace ready Leatt Adventure Body Protector on the Tour this year. This was a not a decision that I made lightly since you are generally hot at least as much as you are cold on the Tour. I had the opportunity to try out both products a month in advance of the Tour and determined that their potential benefits greatly exceeded the potential for overheating. While moving, I was actually unable to discern much of a difference between ventilation with or without the brace and body armor. It does, however, get hot when you are just standing around in it all, so I removed the brace (very easy to do) whenever I got off the bike for more than a few moments. |
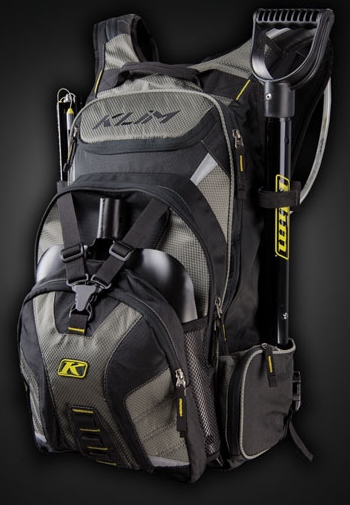 KLIM
Krew Pak KLIM
Krew Pak |

|
What lets down the Adventure
Body Protector is it's construction. The sewing is poor, zippers don't
match (not even the same length) and the whole thing is just poorly
assembled. Assuming the unit that we received is not the only one of
these with quality control issues, the folks at Leatt must be going
crazy over the
fact that such a well-designed product is currently sabotaged
by abysmal assembly. If Leatt wants to keep selling
these, they need to find someone to camp out at
the factory where Adventure Body Protectors are made, with a case of
Red Bull and a sharp eye for miscreants, and address their
issues
with poor craftsmanship. One of the reasons that I suspect that I am not the only one with an Adventure Body Protector that isn't a sterling example of craftsmanship is that the Leatt Dual Axis Knee Guards I ordered up for this year's Tour suffer from the same issues. Just out of the box, these CE approved knee guards look great. They are fabulously light, very well-ventilated, very protective and, at less than $100, a bona fide bargain as well. These are perhaps the best knee guards in their price range ever designed. It's the assembly, once again that leaves something to be desired. |
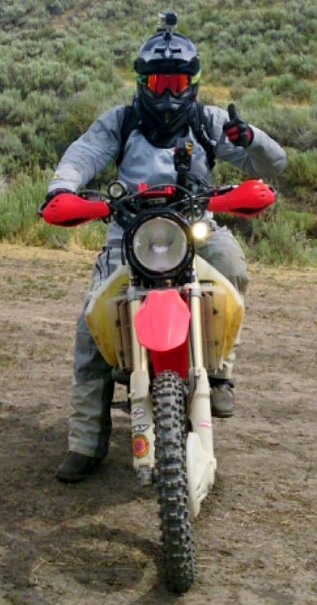
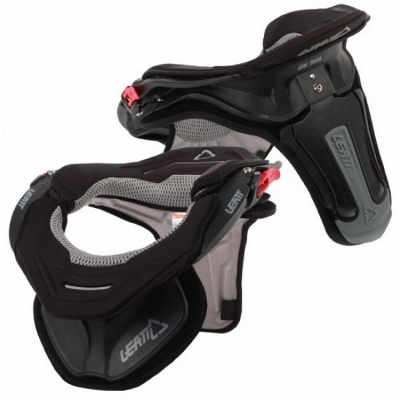 Leatt GPX Trail Brace |
 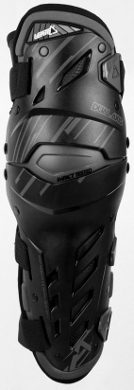 Leatt Adventure Body Protector and Dual Axis Knee Guard |
My
particular issue with the Dual Axis Knee Guard has to
do with the straps. Yes, I have calf muscles, but far from the
biggest pair that anyone is likely to strap a set of these around. The
straps on both of my Dual Axis Knee Guards are obviously way too short,
even at maximum extension, for anyone who is not a skinny 10-year old.
We checked, just to be sure, and they are indeed the proper adult size.
The straps,
nonetheless, would dig grooves into my leg muscles each
day that were still there the next morning. I almost binned my $90 knee
guards at a
gas-station dumpster rather than deal with them any longer after about
the third day on the trail. If the straps were even an inch longer
(they really need to be two or three) the fit and comfort would be
superb. It's maddening to see such an otherwise great piece of gear let
down by quality control issues. Someone at Leatt really needs
to
put a foot in some fannies somewhere. This year I opted for a 2-gallon Rotopax fuel container fastened to a Pro Moto Billet rack for the extra fuel capacity required above that supplied by my 4.4 |
| gallon Acerbis
tank. The rack/Rotopax combo was much better than my old 2-gallon fuel bladder for the Tour. The Rotopax has mounting options that allow you to secure it to just about anything, and getting it secured to the Pro Moto Billet rack was a snap. The Pro Moto Billet rack, in fact, worked very well with both my GL Mojavi bags and the Rotopax. It all fit together perfectly. Although the rack and Rotopax weigh more than the fuel bladder they replaced, they form a far more secure setup. The Rotopax is way less likely to leak than a bladder, or suffer a catastrophic failure in a crash. About the only disadvantage is that you can't roll the rack and Rotopax up and strap them to your handlebars when not in use. I found, however, this setup to be unobtrusive in use all most all of the time. It was also nice to have a full load of fuel more evenly distributed across the front and rear of the bike. We've previously praised the Rekluse Core EXP auto-clutch that we put on my CRF450X earlier this year. We have adjusted this unit twice in five months of hard use. It performed flawlessly throughout the Tour and needed no adjustment after I finished. It's the beefiest clutch I've ever used, and our praise for this product after our short-term review still holds. |
 Pro Moto Billet Rack |
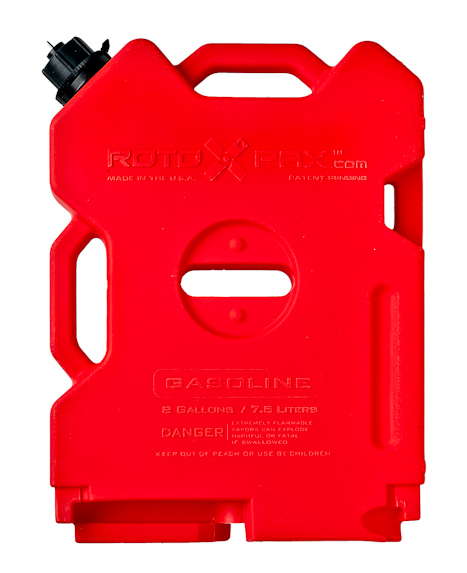 Rotopax 2-Gallon |
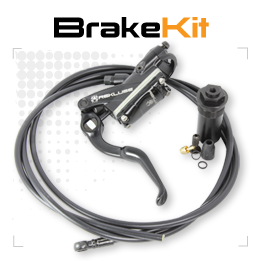 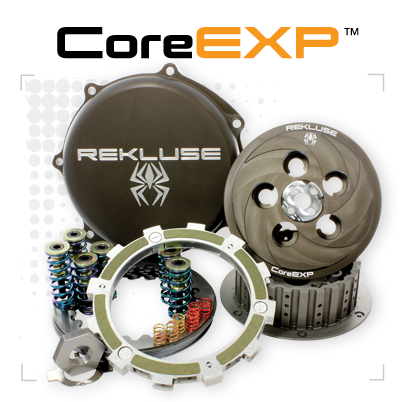 Rekluse Clutch and Brake Kit |
|
One
thing that we've discovered about our Rekluse clutches after several
oil changes is that they are
sensitive to the type of oil that you use with them. In my CRF450X,
I've discovered, purely by accident, that a mixture of Shell Rotella
and
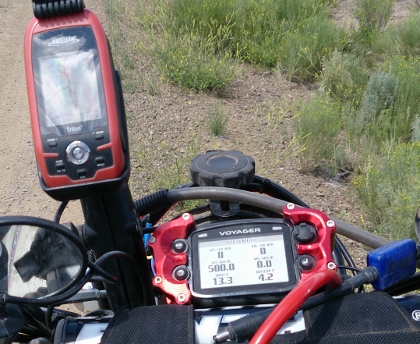
Mobile One works the best. Smooth as silk. One of the things that we planned on adding to the bike but did not have the budget for before we released our last Rekluse review, was a left-hand rear brake kit. The Rekluse left-hand rear brake kit is possibly more useful that the Rekluse Core EXP itself. The ability to grab some rear brake without shifting your feet on the pegs is invaluable - as is its utility in handling tight switchbacks. The kit is very easy to install and crafted to typical high-quality Rekluse standards. Our only nit with the entire kit is with the seat for the O-ring that sits at the base of the Rekluse master cylinder sleeve - the part of the kit that slides into the current master cylinder and relocates it's function to the new master cylinder on the lever itself. The lack of any sort of a bevel on the sharp outer edge of the seat almost guarantees that you'll shred the first O-ring that you use when inserting the sleeve into the old master cylinder - which is probably why Rekluse supplies a spare. Since I was doing this literally on the night before I set off, I was really careful with the second O-ring, which fortunately seated without incident. Last, but certainly not least, is the incredible Trail Tech Voyager and CRF450X mounting kit that Trail Tech provided for the Tour. Rarely have I been so completely blown away by a product that was completely off my radar. |
|
|
| Tour of Idaho Tested, 2013 KLIM ECE F4: $399.99 KLIM Dakar Pant: $179.99 KLIM Dakar Pro Jersey: $139.99 KLIM Krew Pak: $135.99 KLIM Adventure Glove: $89.99 Giant Loop Zigzag: $49.00 Leatt GPX Trail Brace: $299.00 Leatt Adventure Body Protector: $229.00 Leatt Dual Axis Knee Guard: $89.00 Pro Moto Billet Rack: $174.95 Rotopax 2-gallon: $69.95 plus $30 for a mounting kit PC Racing Filter Skins: $14.50 Nike Pro Combat Hypercool Tee: $45.00 Tour of Idaho Tested 2012 More Reviews Reader Forum |
 |
| Home | Rides | Reviews | Bikes | Gallery | Tech | Misc | Contact |